This is a guide in establishing a secure and reliable site-to-site VPN between OPNSense and UniFi OS using Tailscale or selfhosted Headscale. This setup enables seamless communication between networks, simplifies routing, and provides modern WireGuard-based mesh connectivity without complex firewall configurations.
ENVIRONMENT:
CASE DEPLOYMENT:
-
SITE B for simplicity of use is using UNIFI router, which can be easily replaced if needed and it is considered more reliable when experiencing power loss. The site has a LTE connection with cgi-NAT so you cannot use a IPSEC or any connection over static IP. Moreover UNIFI does not have a lot of options in terms of configuring OpenVPN or WG site-to-site if they’re using more complex configurations. That’s why TAILSCALE has proven to be a perfect solution to work and manage remotely.
-
SITE A has already OpenVPN site-to-site connections, Wireguard servers, Wireguard site-to-site. Installing Tailscale on OPNSENSE does not interfere with other connections. NETBIRD was not used since you need to get rid of any existing configuration on OPNSENSE.
1. OPNSENSE TAILSCALE SETUP
1.1 Add the Community Repository to OPNsense
By default, Tailscale plugin is not included in the available plugins to download/install in OPNsense. In order to extend the list of plugins, we need to add the community plugin repository that includes a list of additional packages.
Before we can install the Tailscale plugin, we will need to setup & install that community repository.
To do this, we’ll need direct SSH or console access to our OPNsense appliance from our LAN.
SSH is disabled by default, but we can enable it quickly by navigating to System > Settings > Administration and then scrolling down to the Secure Shell section.
We’ll need to check the box for Enable Secure Shell and Permit Password Login. If you’re logging into OPNsense with the root account, you’ll also need to select Permit root user login.
Then scroll down to the bottom of the page & click Save.
By default OPNsense will set SSH Listen Interface set to All. It is recommend to enable access only LAN interface.
If you don’t need SSH to be accessible all the time, please remember to disable this service once you’re finished setting this up.
Okay, now that’s enabled – we can connect to our OPNsense appliance using your preferred SSH client (like PuTTY).
If you’re using the root account, you’ll likely be dropped into the OPNsense shell – but you can select option 8 here to access the underlying FreeBSD shell.
In order to install the community repository, we’ll pull down the repository config file using the following command:
fetch -o /usr/local/etc/pkg/repos/mimugmail.conf https://www.routerperformance.net/mimugmail.conf
Then, we’ll need to ask OPNsense to update it’s local cache with the new repo – so it knows what packages are hosted there:
pkg update
If everything is successful, you’ll see output similar to below – which lists the mimugmailrepository now:
root@0xOPNsense:/home/matt # pkg update
[...]
All repositories are up to date.
After these steps, you no longer need opened SSH connection, so please close the port 22 by going to System > Settings > Administration and then scrolling down to the Secure Shell section.
1.2 Installing the TAILSCALE PLUGIN
Now that the additional package repository is set up, we can download & install the Tailscale plugin via the OPNsense web interface.
So back in our browser, we can nagivate to: System > Firmware > Plugins. On this page we can search for adguard or scroll through the list to find it.
Then we just click the plus icon on the right side to install (not shown in the screenshotbelow).
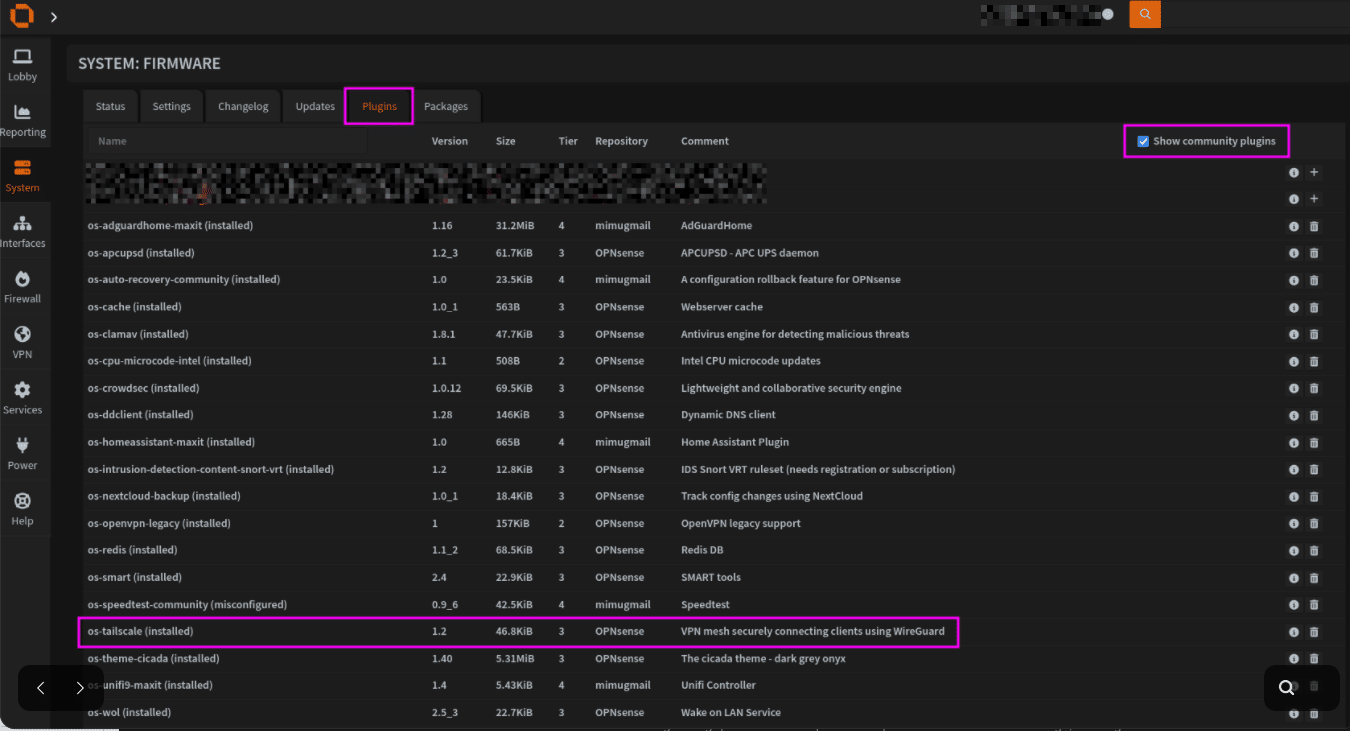
This should install pretty quickly:
1.3 TAILSCALE CONFIGURATION
Please follow initial configuration of TAILSCALE as per guide
Ref: https://www.youtube.com/watch?v=VD2oMin_V3M
In our scenario we would advertise a SITE A network: 192.168.10.0/24
Once the initial config is done verify Firewall > Rules > TAILSCALE
I have added an additional rule under the advertised LAN in Firewall > Rules > LAN (should be treated as optional)
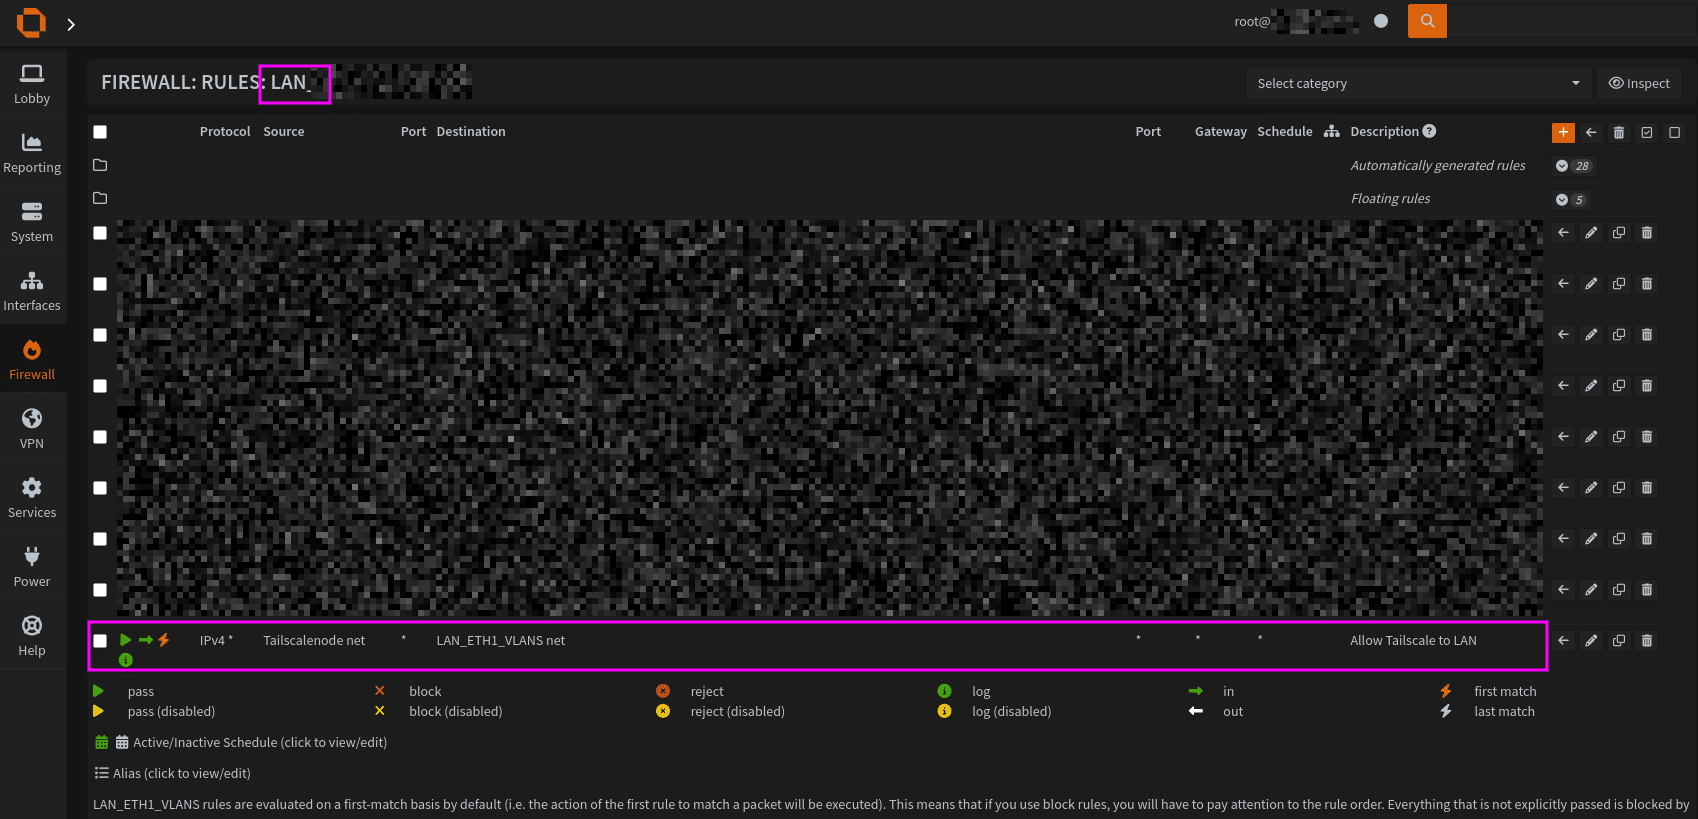
Now our LAN should be accessible from outside on clients which have TAILSCALE installed.
Now in order to be able to see advertisted subnet on SITE B that we would create later on, we need to create one rule under FIREWALL >> NAT >> OUTBOUND
NAT OUTBOUND needs to be in Hybrid Mode
Create a new rule then:
- Interface: Tailscalenode
- Source: LAN net
- Destination: any
- Translation/target: Tailscalenode address (!!!!!!!)
- Log packets: yes
- Description: Tailscale access to subnets
Save & Apply
We have configured all needed things on OPNSENSE
2. UNIFI OS TAILSCALE SETUP:
2.1 Install Tailscale on UNIFI
Please acknowledge with TAILSCALE script for UNIFI over https://github.com/SierraSoftworks/tailscale-udm
SSH TO UNIFI THEN EXECUTE:
curl -sSLq https://raw.github.com/SierraSoftworks/tailscale-udm/main/install.sh | sh
2.2 Connect to Tailscale with advertising the subnet you want to be accessible on SITE A
Enable TAILSCALE service on unifi listing all subnets from Site B that you want to advertise
tailscale up --advertise-routes=”192.168.20.0/24,192.168.21.0/24″ --accept-routes=true --advertise-exit-node=true
Make sure you Accept the new machine on Tailscale dashboard and accept advertised routes
2.3 CREATE A NAT POSTROUTING RULE
In order to see advertised route from SITE A: 192.168.10.0/24 you need to create a rule for all subnets or specific ones to allow that
Choose an option which better suits your needs
OPTION A: ALLOW ALL INTERNAL SUBNETS TO REACH TO TAILSCALE AND CONNECT TO ADVERTISED SUBNETS
iptables -t nat -A POSTROUTING -o tailscale0 -j MASQUERADE
OPTION B: ALLOW ONLY INTERNAL 192.168.20.0/24 TO REACH TO TAILSCALE AND CONNECT TO ADVERTISED SUBNETS
iptables -t nat -A POSTROUTING -s 192.168.20.0/24 -o tailscale0 -j MASQUERADE
In my setup, I’ve chosen option B – any user under LAN 192.168.20.0/24 should be able to ping any device on 192.168.10.0/24
2.3 MAKE THE CHANGE PERSISTENT
With each device reboot the postrouting will dissappear so we need to make the change persistent on UNIFI OS 4.9
Copy & paste to UNIFI SSH:
# Pick the persistent base dir automatically
if [ -d /data ]; then BASE=/data; else BASE=/mnt/data; fi
echo "Using $BASE"
# Write the script
cat >"$BASE/ts-nat.sh" <<'EOF'
#!/bin/sh
PATH=/usr/sbin:/usr/bin:/sbin:/bin
LOG=/var/log/ts-nat.log
IF=tailscale0
SUBNET=192.168.20.0/24 # <-- change if needed
echo "$(date) ts-nat: start" >> "$LOG"
# Wait (max 10 minutes) for tailscale0 to appear
i=0
while ! ip link show "$IF" >/dev/null 2>&1; do
i=$((i+1))
[ "$i" -ge 600 ] && echo "$(date) ts-nat: $IF not up, giving up" >> "$LOG" && exit 0
sleep 1
done
echo "$(date) ts-nat: $IF is up" >> "$LOG"
# Make sure IPv4 forwarding is on (harmless if already enabled)
sysctl -w net.ipv4.ip_forward=1 >/dev/null 2>&1 || true
# Add MASQUERADE only if it's not already present
if ! iptables -t nat -C POSTROUTING -s "$SUBNET" -o "$IF" -j MASQUERADE 2>/dev/null; then
iptables -t nat -A POSTROUTING -s "$SUBNET" -o "$IF" -j MASQUERADE
echo "$(date) ts-nat: added MASQUERADE $SUBNET -> $IF" >> "$LOG"
else
echo "$(date) ts-nat: MASQUERADE already present" >> "$LOG"
fi
EOF
chmod +x "$BASE/ts-nat.sh"
Install the shell script as a service:
cat >/etc/systemd/system/ts-nat.service <
Verify the iptables before reboot
iptables -t nat -L POSTROUTING -n -v | grep tailscale0
tail -n 50 /var/log/ts-nat.log
You should see the MASQUERADE rule and a log entry like “added MASQUERADE …”.
REBOOT UNIFI
UNIFI# restart
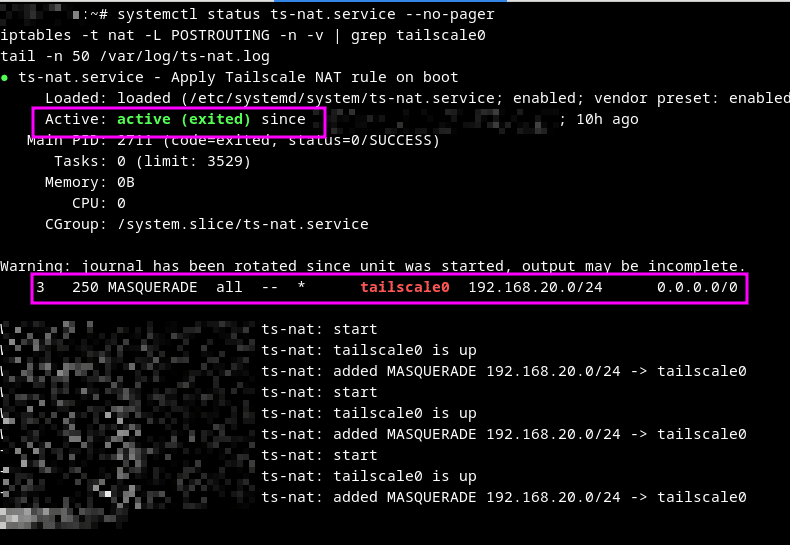
Verify the changes after reboot
systemctl status ts-nat.service --no-pager
iptables -t nat -L POSTROUTING -n -v | grep tailscale0
tail -n 50 /var/log/ts-nat.log
3. VERIFY THE SITE-TO-SITE CONNECTIVITY
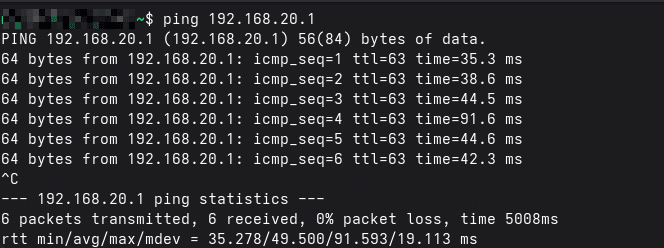
On SITE A, please use a terminal which has not Tailscale application installed and is under 192.168.10.1. Then ping the remote network 192.168.20.1
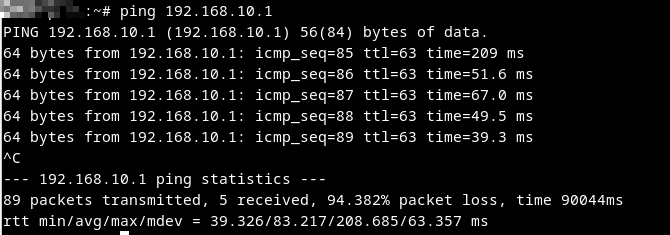
On SITE B, please use a terminal which has not Tailscale application installed and is under 192.168.20.1. Then ping the remote network 192.168.10.1
4. (OPTIONAL) MODYFING ACCESS TO EACH SUBNET
You may modify ACL on Tailscale if you’d like to have more granular way of connecting clients between subnets as per described:
ref: https://www.youtube.com/watch?v=Jn8_Sh4r8d4
Or by creating Firewall rules on each device
Maciej Zytowiecki
Network security expert with a deep passion for wireless networks, networking and data security. When I'm not working, you'll find me diving into hobby projects, contributing to open-source initiatives, or enjoying hands-on experiments with cutting-edge tech. My goal is to bridge the gap between complex concepts and accessible knowledge, making the world of network security both intriguing and approachable for all.